Parts of an IV Infusion Set and Their Functions
A Comprehensive Clinical Reference Guide on Intravenous Administration Sets
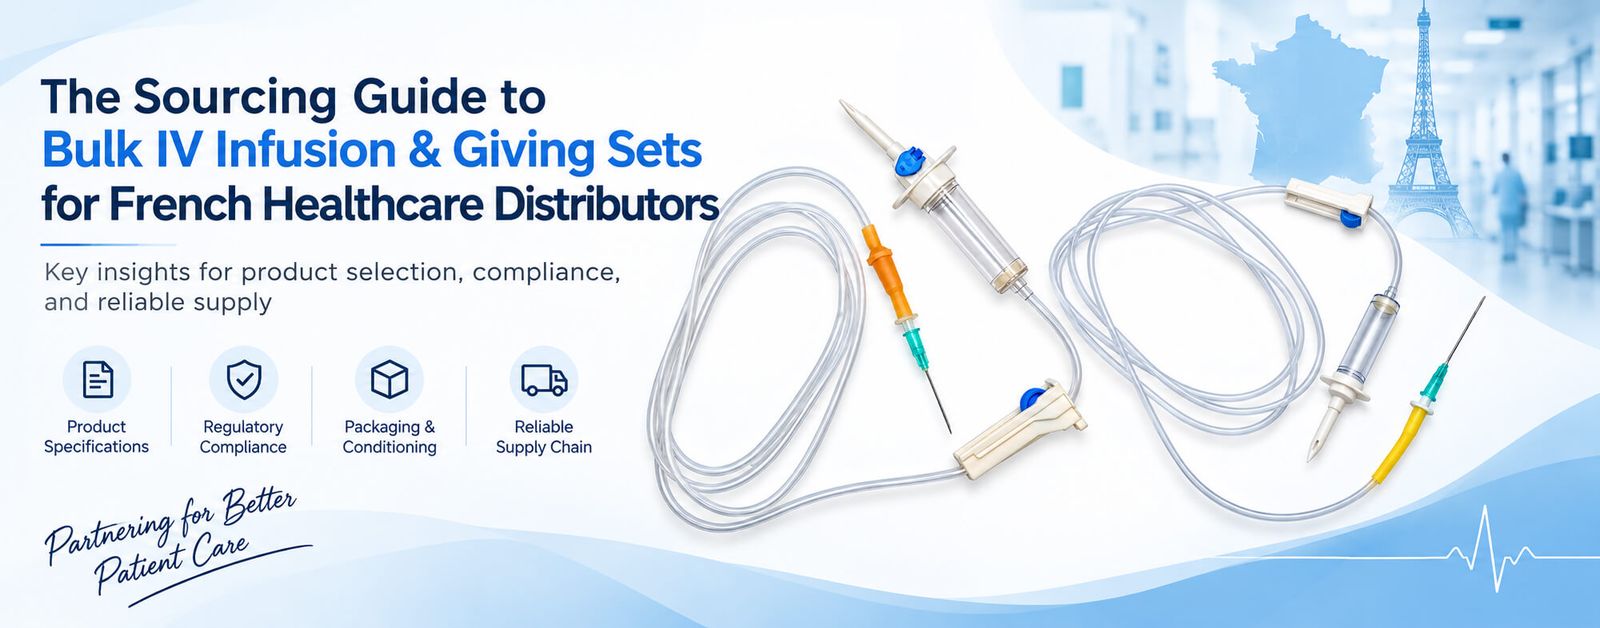
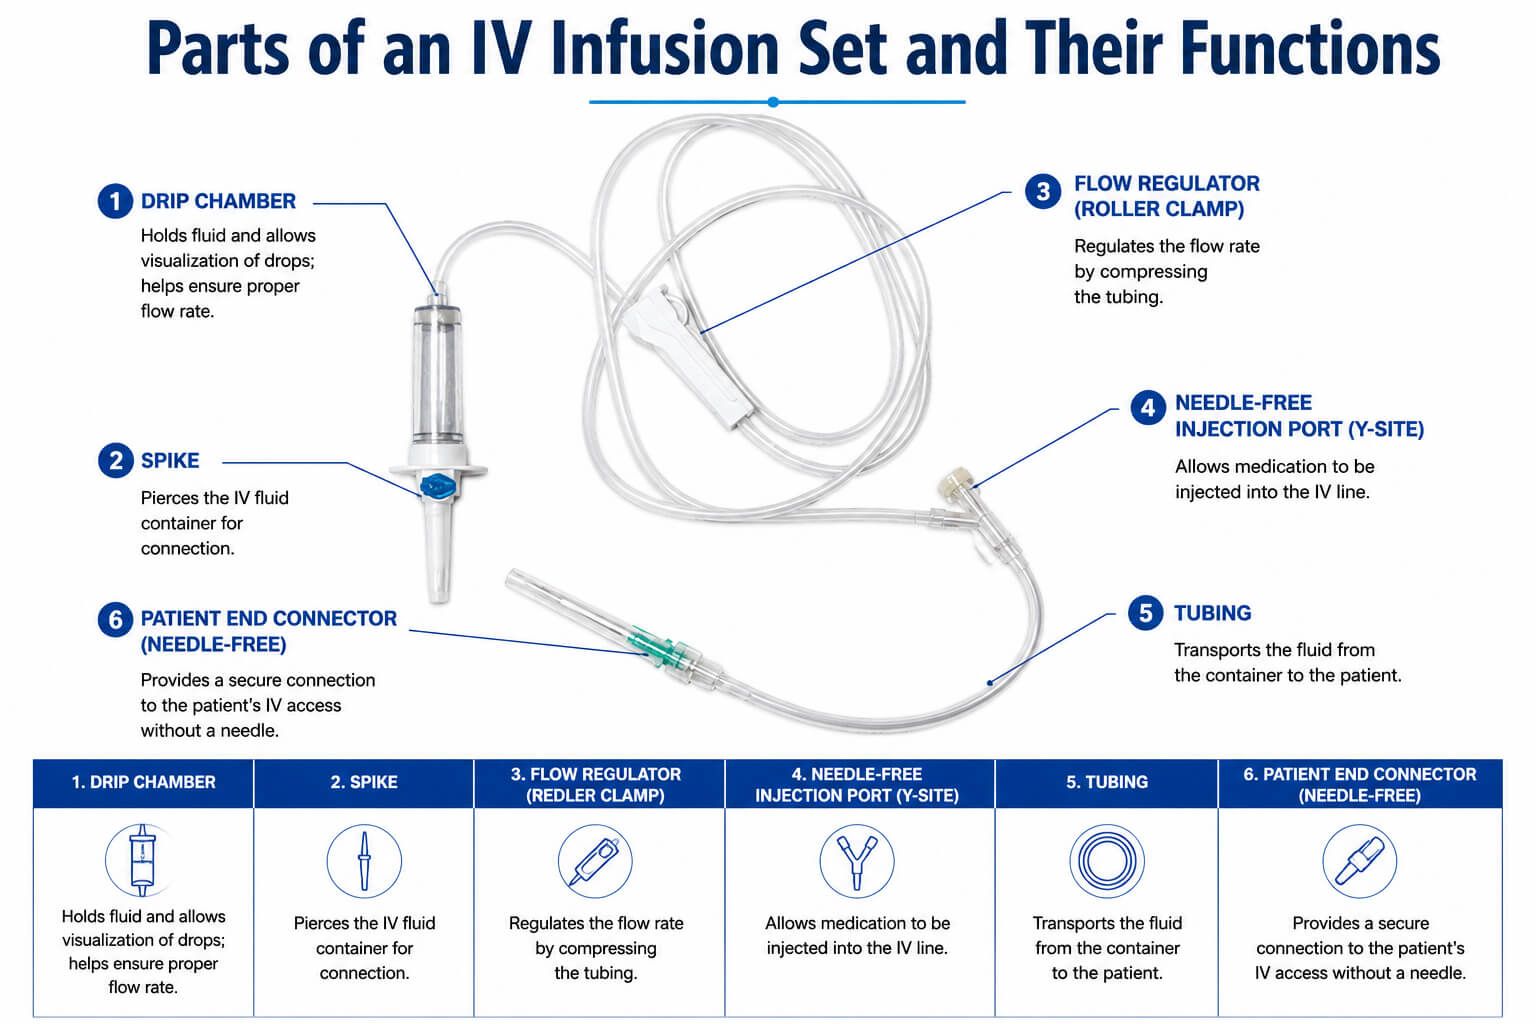
An intravenous (IV) infusion set is a precision-engineered, sterile conduit designed to deliver parenteral fluids, life-saving medications, blood components, and nutritional support directly into a patient’s vascular system. Understanding the anatomical components and operational mechanisms of an IV set is essential for preventing air embolisms, maintaining flow accuracy, and minimizing catheter-related bloodstream infections (CRBSIs).
1. Anatomical Breakdown of an IV Infusion Set
| Component | Physical Position | Primary Function | Clinical Consideration |
| Piercing Spike | Proximal tip | Penetrates the IV container port to initiate fluid pathway. | Must remain sterile; touch-contamination requires immediate discarding. |
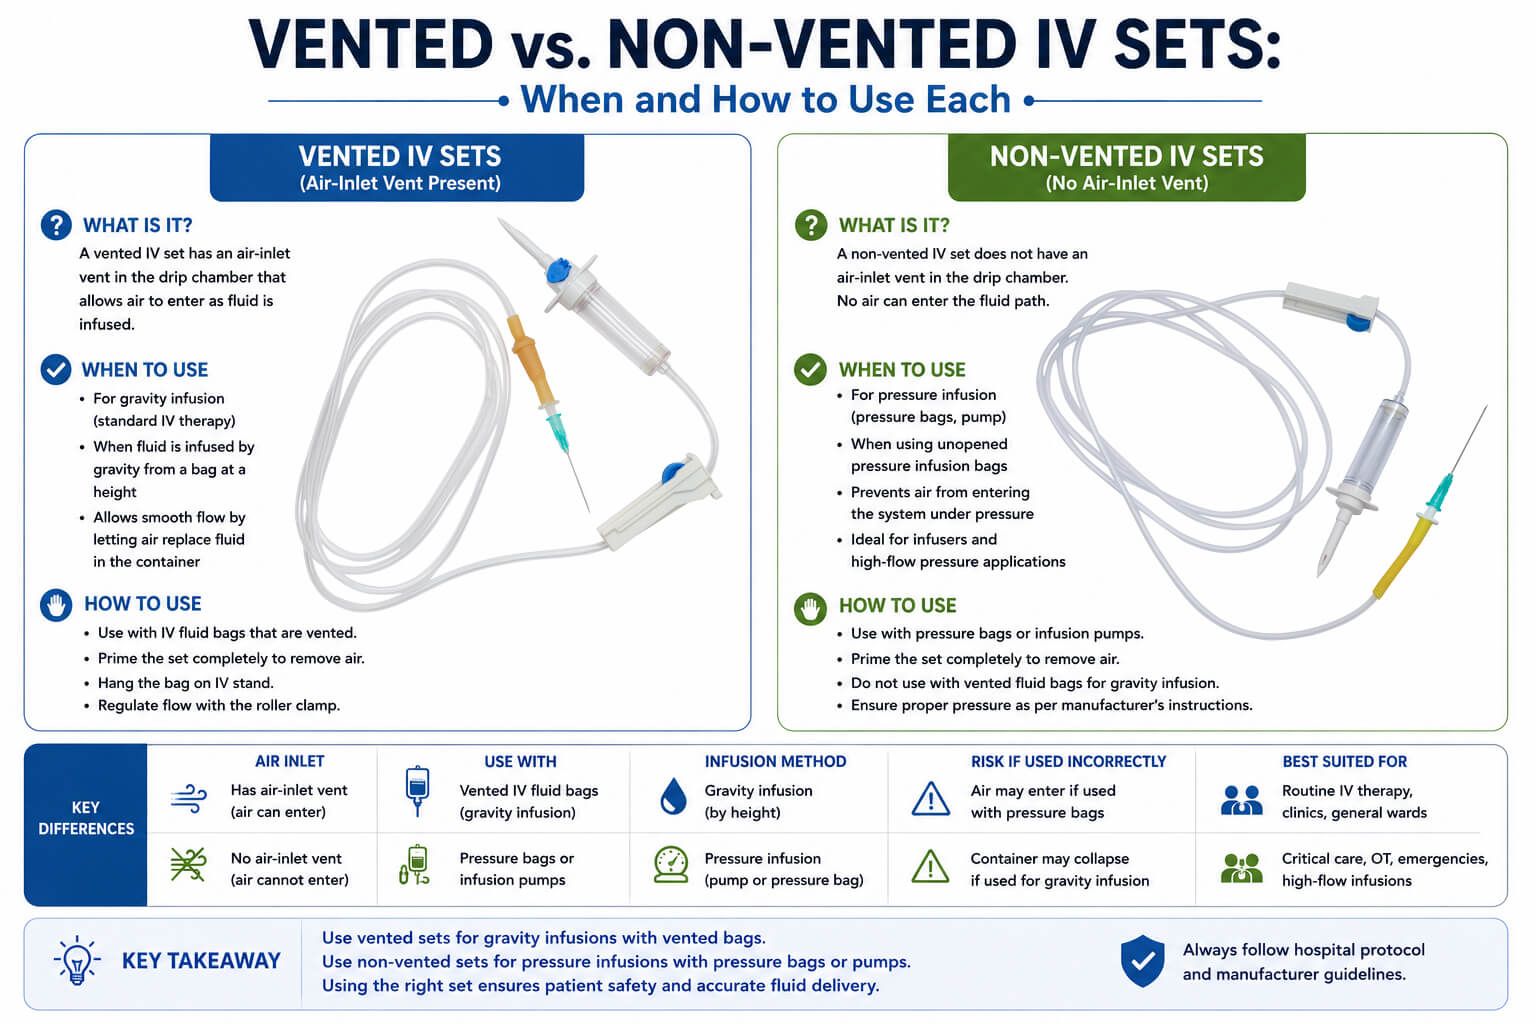
| Air Vent & Filter | Base of spike | Equalizes container pressure when infusing from rigid bottles. | Keep open for glass bottles/semi-rigid containers; close for collapsible bags. |
| Drip Chamber | Below spike | Houses drop orifice, allows visual rate monitoring, traps air. | Fill 1/3 to 1/2 full; underfilling introduces air, overfilling prevents drip visualization. |
| In-Line Solution Filter | Base of drip chamber / Distal line | Traps microparticulates, precipitates, and fungal spores (15 μm standard; 0.22 μm for lipid-free drugs). | Prevents phlebitis and particulate embolism during long-term infusions. |
| Medical-Grade Tubing | Conduit body | Transports sterile fluid from container to vascular access device. | Standard length 150–210 cm; available in standard PVC, DEHP-free, and light-resistant amber designs. |
| Roller Clamp | Midline | Mechanical compression wheel to dial in and regulate gravity flow rate. | Subject to plastic ‘cold creep’; rate tends to drift over time and requires periodic recalibration. |
| Slide Clamp | Proximal / Midline | Provides immediate, complete line occlusion without altering the roller clamp position. | Used during container changes or emergency line clamping. |
| Backcheck Valve | Above secondary port | One-way valve that shuts off primary flow while secondary piggyback runs. | Prevents retrograde medication flow into the primary IV bag. |
| Y-Injection Site / Needleless Port | Distal tubing | Permits secondary line connection, bolus injections, or blood sampling. | Requires strict aseptic technique (‘scrub the hub’ for 15 seconds) before access. |
| Luer Lock Connector | Distal terminus | Standardized threaded male fitting securing tubing to IV cannula. | Minimizes accidental disconnection and fluid leakage compared to slip-tip designs. |
2. Detailed Component Analysis and Mechanism of Action
The Piercing Spike and Spike Protector
The spike is a rigid, beveled polymer pin engineered to puncture the elastomeric septum of IV infusion bags or bottles.
- Sterile Shielding: The protective cap maintains the spike’s sterility until insertion. Touching the spike shaft during setup directly inoculates the fluid path with skin flora (Staphylococcus epidermidis, Staphylococcus aureus), a leading cause of central line-associated bloodstream infections.
- Insertion Technique: The spike must be inserted with a single, firm pushing and twisting motion. Angled force can puncture the sidewall of the bag neck, leading to leaks and contamination.
Air Venting System
Fluid cannot flow out of an unyielding container without equalizing internal negative pressure.
- Vented vs. Non-Vented Mechanisms: Rigid glass bottles and non-collapsible plastic containers require an open air vent. The vent contains a 0.2-micron hydrophobic membrane that permits sterile air entry while repelling liquid and preventing microbial ingress.
- Collapsible IV Bags: Flexible polyvinyl chloride (PVC) or polyolefin bags collapse under ambient atmospheric pressure as fluid drains, meaning the air vent must remain closed to avoid fluid leakage or filter saturation.
Drip Chamber and Drop Factor Calibration
The transparent drip chamber acts as a fluid reservoir and primary defense against gross air entry into the lower tubing.
- Macrodrip Sets (10, 15, 20 gtt/mL): Deliver large drops suited for rapid fluid resuscitation, perioperative maintenance, and routine adult hydration.
- Microdrip Sets (60 gtt/mL): Feature a fine internal needle delivering small, uniform droplets. Standard in pediatric, neonatal, and critical care units where fluid precision is essential.
| Flow Rate Calculation Formula: Drip Rate (gtt/min) = [ Total Volume (mL) × Drop Factor (gtt/mL) ] / Time (minutes) |
Fluid Filters and Material Science
- Standard Filters (15 to 20 μm): Intercept coarse plastic shavings, glass ampoule shards, and large crystallized aggregates.
- 0.22-Micron In-Line Filters: Retain bacteria (Pseudomonas, Enterobacter), endotoxins, and micro-air bubbles. Indicated for total parenteral nutrition (TPN) without lipids, mannitol, and immune globulins.
- 1.2-Micron In-Line Filters: Utilized for lipid emulsions and all-in-one total nutrient admixtures where large lipid micelles would clog sub-micron membranes.
- DEHP-Free & Light-Protected Tubing: Non-DEHP polyolefin/polyethylene-lined tubing prevents phthalate leaching and drug binding with lipophilic agents (e.g., Paclitaxel, Tacrolimus). Amber-tinted tubing shields photodegradable drugs (e.g., Nitroprusside, Doxorubicin) from UV light.
Flow Control, Valves, and Luer Connectors
- Roller & Slide Clamps: The roller clamp compresses the lumen to set flow rate, though plastic ‘cold creep’ causes rate deceleration over time. The slide clamp provides instantaneous, binary on/off control without disrupting calibrated roller settings.
- Y-Injection Sites & Backcheck Valves: Needleless swabbable ports allow intermittent secondary piggyback infusions. A proximal backcheck one-way valve automatically closes due to hydrostatic pressure from the higher secondary container, preventing retrograde medication flow into the primary bag.
- Luer Lock Connector: Standardized threaded ISO male fitting that securely locks into the vascular catheter, preventing accidental disconnection under patient movement or pressurized infusion.
3. Step-by-Step Clinical Priming Protocol
1. Inspection & Hand Hygiene: Verify physician medication orders, examine packaging sterility, check expiration dates, and perform hand hygiene.
2. Occlude Clamps: Move the roller clamp to the fully closed position prior to spiking to prevent fluid from rushing through unprimed tubing.
3. Spike the Container: Remove the spike protector aseptically and insert the spike into the container port using a steady twisting motion without touching the shaft.
4. Prime the Drip Chamber: Gently compress and release the drip chamber until it is 1/3 to 1/2 full of fluid.
5. Purge Line of Air: Slowly open the roller clamp to advance fluid. Invert Y-ports as fluid passes to clear air bubbles trapped within side branches.
6. Lock and Inspect: Close the clamp once fluid reaches the Luer tip. Carefully inspect the entire tubing length for micro-bubbles or air columns before connecting to the vascular access device.