The 3 way stopcock is one of those small devices that quietly carries a lot of responsibility. It sits between the patient and the infusion line, and a single wrong turn of its handle can stop a critical medication or push air toward a vein.
Most clinicians learn to use it on the job, often in a hurry. This guide slows things down and explains how a three way stopcock actually works, how to handle it safely, and where the common mistakes tend to happen.
Whether you run a busy ward, manage a distribution business, or stock a hospital store, understanding this device helps you use it — and specify it — with more confidence.
What Is a 3 Way Stopcock?
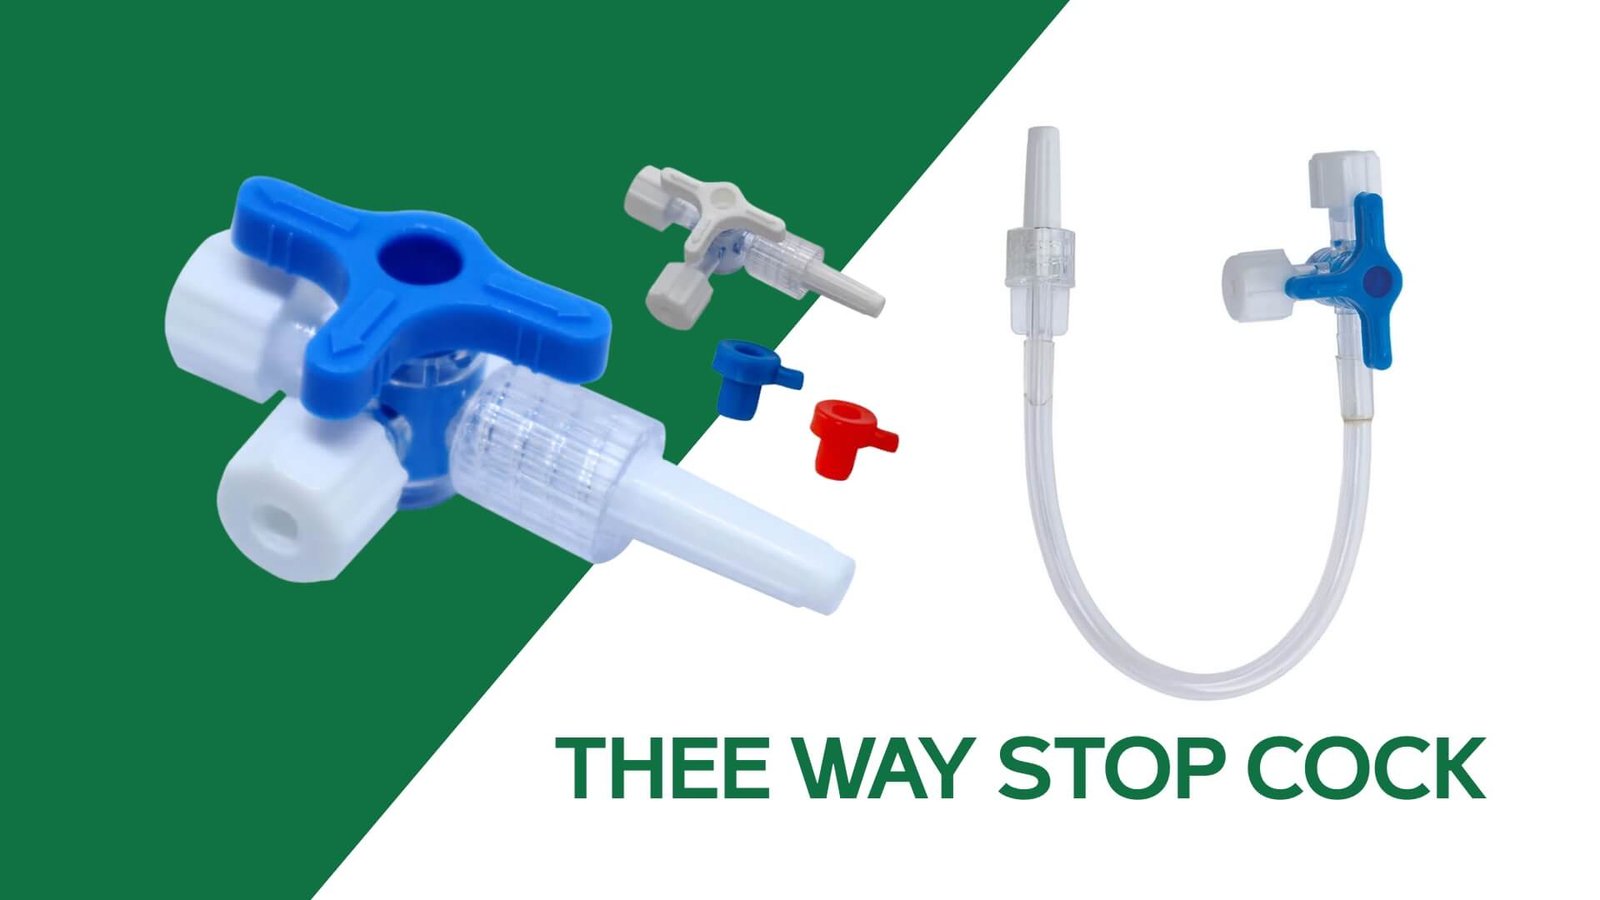
A 3 way stopcock is a small valve with three ports and a rotating handle that controls the direction of fluid between connected lines. Think of it as a traffic controller for an IV pathway.
By turning the handle, a clinician can open two ports, close one, or redirect flow without disconnecting anything. This lets a single venous access point serve several jobs — running fluids, giving a bolus, or drawing a sample.
Because it keeps the line closed while switching between tasks, the device supports both efficiency and infection control. That combination is why you will find it in operating theatres, emergency departments, ICUs, and general wards worldwide.
The Parts of a Three Way Stopcock
Most three way stopcocks share the same basic anatomy, though quality and materials vary between manufacturers.
The body usually holds one male port and two female ports. The male port connects to an IV cannula or catheter hub, while the two female ports accept syringes, extension lines, or fluid sets. Luer lock threads on each port create a secure, leak-resistant seal.
A rotating handle sits on top. It carries directional arrows and one blank face, and it decides which channels are open at any moment. Many designs are colour-coded so staff can identify the handle quickly during a busy procedure.
A good stopcock also has a transparent body. This lets clinicians watch fluid move through the channel and catch an air bubble or blockage before it becomes a problem.
How the Valve Works: Reading the Handle
The most important habit with any 3 way stopcock valve is learning to read the handle correctly. On most standard designs, the handle’s solid arm points toward the port that is turned OFF.
In other words, the direction the lever faces is the channel that is closed, while the remaining two ports stay open to each other. Some brands modify this logic, so always confirm the design in front of you before you rely on it.
Here is a simple reference for a common handle layout:
| Handle Points Toward | Result |
| The IV cannula (patient) | Flow to the patient is OFF; the two side ports connect |
| A side / female port | That port is OFF; the patient connects to the other port |
| The blank / no-port side | All three ports open (design-dependent) |
The safest approach is to test the position with a gentle saline flush before connecting the patient. A few seconds of checking prevents a medication from going nowhere — or worse, going the wrong way.
How to Use a 3 Way Stopcock: Step by Step
Good technique starts before the device even touches the patient. The steps below describe a typical IV setup using a sterile, single-use stopcock.
Before you begin
Wash your hands and follow standard aseptic technique. Check that the packaging is intact and in date, then confirm the stopcock is compatible with your line — most modern systems use luer lock connections.
Setting up the device
Remove the stopcock from its sterile pack and keep the ports capped until needed. Connect the male port to the IV cannula or catheter hub, then attach your fluid line and syringe to the female ports.
Before opening flow to the patient, prime the stopcock with sterile saline. Priming pushes out trapped air, which is the single most important safety step in the whole process.
During use
Rotate the handle to open the channel you need, and confirm the ports are aligned before you inject or withdraw. Watch the transparent body for smooth flow and check every connection for leaks or resistance.
When you switch tasks — say, from running fluids to giving a bolus — turn the handle deliberately and pause to confirm the new position. Rushing this step is where most errors creep in.
Flushing a 3 Way Stopcock the Right Way
Flushing keeps the internal channel clear and lowers the risk of clot formation or drug residue. Attach a saline-filled syringe to a female port, open the correct pathway, and push the flush through gently.
Never force a flush against resistance. If the fluid will not move easily, stop and check the handle position, the line, and the cannula before trying again.
Flush between incompatible medications too, since some drugs react or precipitate when they mix inside the channel. A clean line protects both the patient and the accuracy of the dose.
Safety Precautions Worth Repeating
A few safety principles deserve special attention, because the consequences of ignoring them can be serious.
Air is the first concern. Always prime the device and clear bubbles before connecting to the patient, since air pushed into a vein can cause an embolism.
Infection is the second. Treat every port as a sterile entry point, keep caps on unused ports, and never reuse a single-use stopcock even if it looks clean. Reprocessing a disposable device invites cross-contamination.
Finally, handle the luer locks with care. Tighten them enough to seal, but not so hard that you strip the threads or crack the connector — over-tightening is a common cause of slow leaks.
Common Mistakes and Simple Fixes
Even experienced staff run into the same handful of issues. Recognising them early saves time and protects the patient.
| Problem | Likely Cause | What to Do |
| Fluid will not flow | Handle in the wrong position | Re-check the handle and align the correct channel |
| Leak at a joint | Luer lock loose or over-tightened | Re-seat the connection; replace if cracked |
| Resistance when flushing | Clot, kink, or a closed port | Stop and inspect the line and handle first |
| Air in the channel | Incomplete priming | Re-prime with saline before connecting the patient |
If a stopcock feels stiff, leaks after adjustment, or shows any sign of contamination, replace it rather than persevering. A single disposable device is never worth a compromised line.
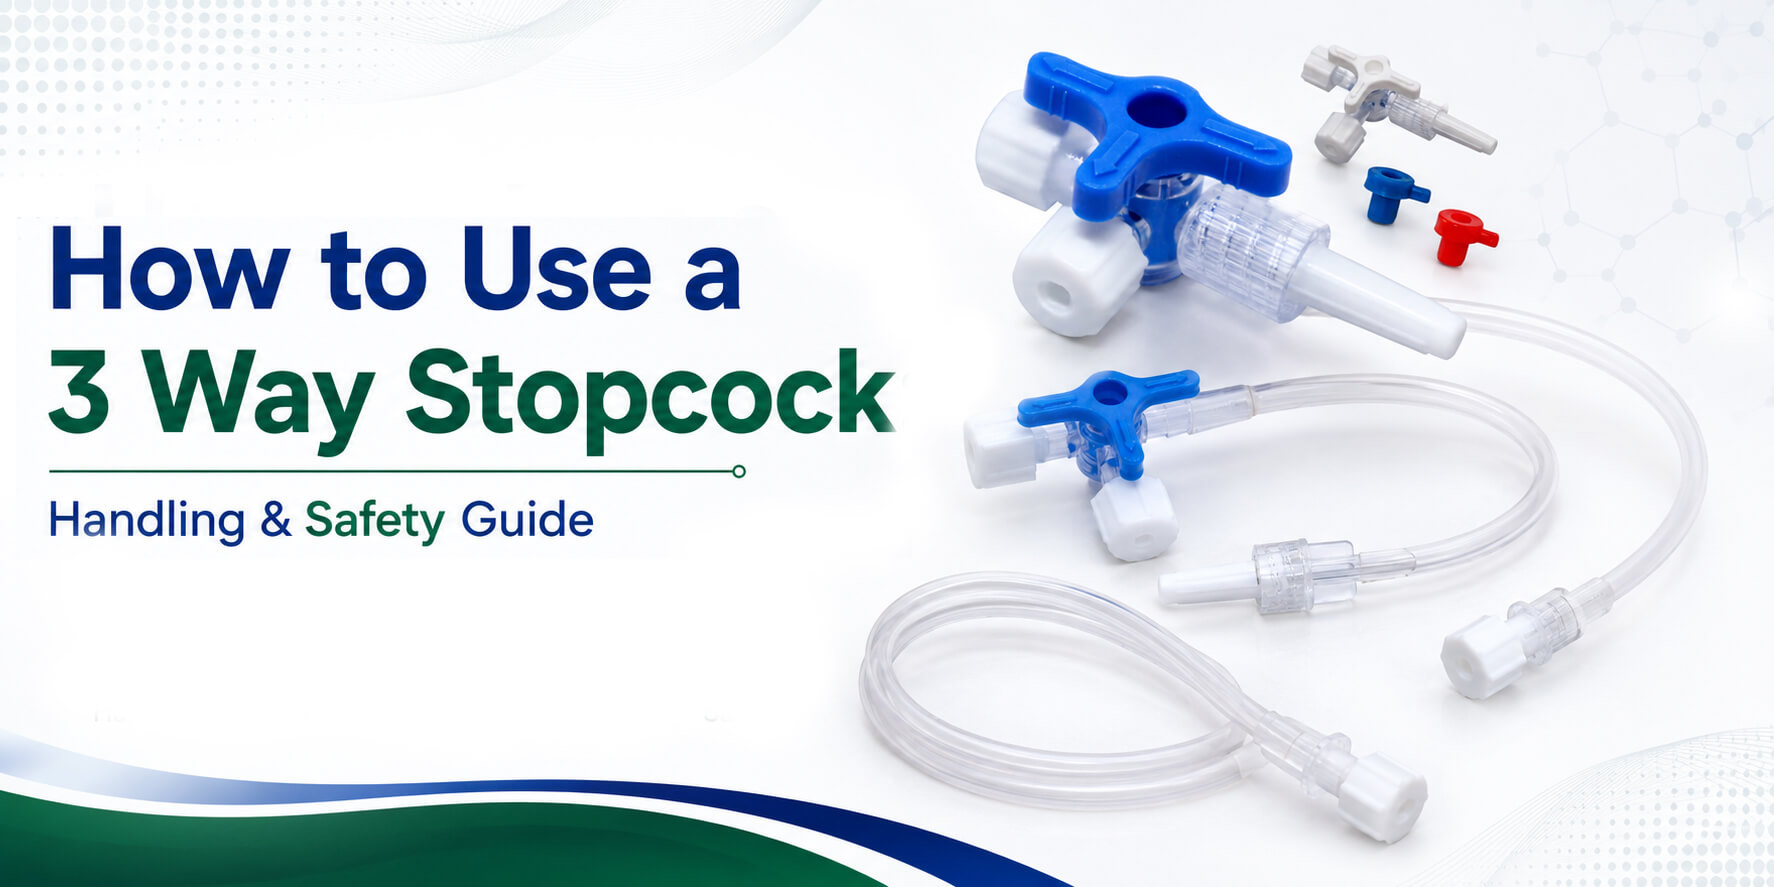
The 3 Way Stopcock With Extension Tube
Some procedures call for a little more reach between the patient and the pathway. A three way stopcock with extension tube combines the valve with a length of flexible tubing, which keeps the working end away from the insertion site.
This helps during imaging, positioning, or any situation where you want to adjust flow without disturbing the cannula. The extension also gives a tidier bedside setup and reduces strain on the insertion point.
When choosing this variant, look for kink-resistant, transparent tubing and secure luer connections at both ends.
Choosing a Reliable 3 Way Stopcock
The quality of a stopcock is easy to overlook until one fails mid-procedure. Consistent moulding, smooth internal surfaces, dependable luer locks, and lipid-resistant materials all matter more than they might appear.
For hospitals and distributors, sourcing from a manufacturer with recognised quality systems — such as CE marking and ISO 13485 certification — offers real reassurance. These standards signal that the device has been made and tested to internationally accepted requirements.
Lars Medicare manufactures three way stop cocks and a full range of infusion accessories under these standards, with over two decades of experience supplying healthcare markets around the world.
Explore the 3-Way Stopcock Range →
See specifications, variants, and bulk-supply options for clinically reliable stopcocks: View the 3-Way Stopcock product page.
Frequently Asked Questions
How does a 3 way stopcock work?
It uses a rotating handle to control fluid flow between three ports. On most designs the handle points toward the port that is closed, while the other two ports stay open to each other, letting you redirect flow without disconnecting the line.
Which way does the stopcock handle point when a port is off?
On standard stopcocks, the solid arm of the handle points toward the port that is switched off. Always confirm this on the specific device you are using, as a few designs vary.
How do you flush a 3 way stopcock?
Attach a saline-filled syringe to a female port, rotate the handle to open the correct pathway, and push the flush through gently. Stop immediately if you meet resistance and check the handle position and line.
Can a 3 way stopcock be reused?
Most stopcocks are sterile, single-use devices and should be discarded after use. Reusing a disposable stopcock risks cross-contamination, even if it looks clean.
What is the difference between a luer lock and a luer slip stopcock?
A luer lock stopcock has threaded connections that twist together for a secure, leak-resistant fit. A luer slip relies on a friction push-fit, which is quicker but less secure under pressure.
What is a 3 way stopcock with extension tube used for?
It adds a length of flexible tubing between the valve and the patient, giving extra reach and a tidier bedside setup. This is useful during imaging, repositioning, or when adjusting flow without disturbing the cannula.